 |
This sample plan sheet shows the bottom and side
plane dimensions of the D4 dinghy. A little planning is
necessary before you start transferring these lines onto
plywood in order to minimize the amount of waste. In some
plans, the designer has already done this for you. The
cutting plans are given for standard plywood dimensions
though, and are not of much help if your plywood sheets
have different dimensions (as was the case in my project) |
 |
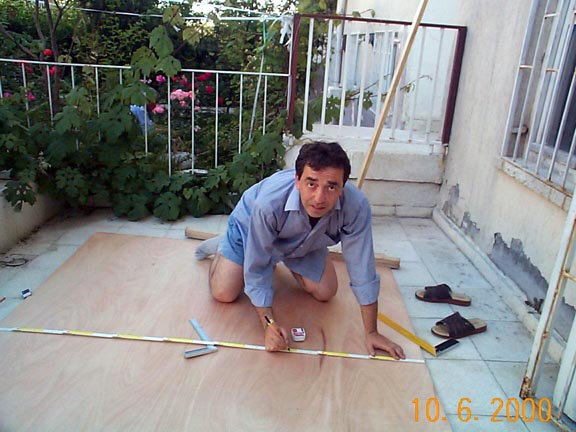
You start by inscribing your plans on plywood. This
is a step which requires a lot of attention (not looking
very happy in this picture). Straight lines are easy to
draw. For the side and bottom panels which have curved
edges, it is best to use a "batten"; a long and
thin wooden stick which can easily be bent to follow the
shape of the curve. Finding an assistant may ease your
task while drawing long curves. Fortunately, the side and
bottom panels are symmetric which eases the task
somewhat. The next step will be to cut the plywood
panels. |
 |
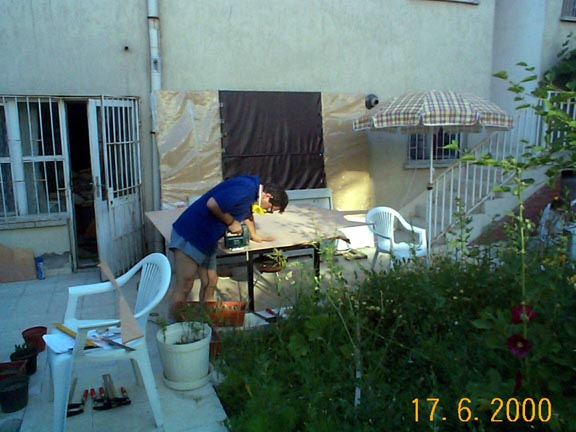
Here I am using a jigsaw to cut the panels. People
usually prefer a circular saw for this task, unless the
curves of the panels are very tight. I don't have a
circular saw, and had absolutely no trouble with the
jigsaw. If you need to saw much thicker plywood, or if
you are cutting lumber (e.g., for the gunwales, mast or
spars) a circular saw might be more appropriate. |
 |
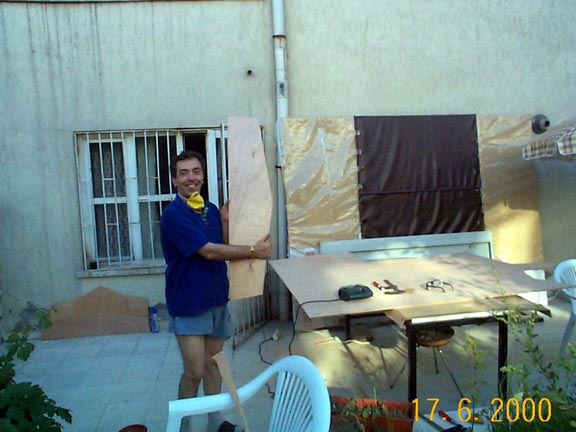
One of the bulkheads cut.While cutting plywood, using
jigsaw blades made for cutting metal proved to be much
better than using blades suited to lumber because lumber
blades have fewer teeth per unit length and tend to
damage the edges of the thin plywood.. |
 |
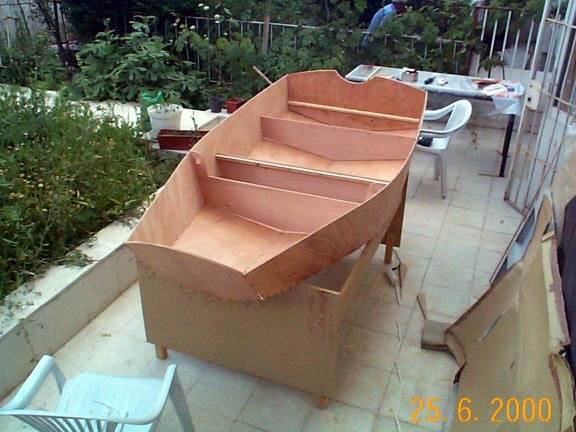
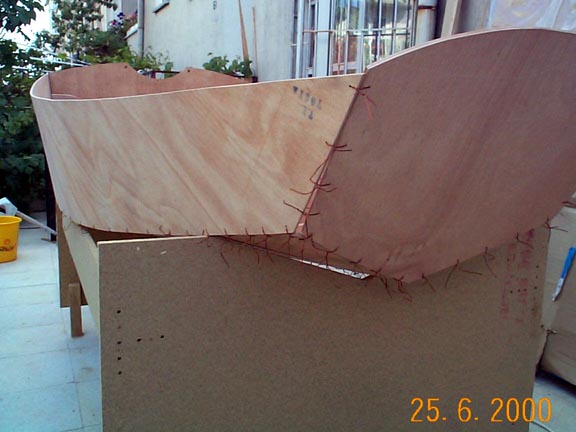
After cutting the panels, the next step is to stitch
the hull. Unfortunately, I have no pictures of this step
(had to do it alone). This picture and the next one show
the stitched hull with the seat supports (which serve as
athwartship bulkheads in small boats) temporarily in
place. The bulkheads have not been glued yet, but the
inward pressure of the side panels help keep them in
place. The transom and the bow transom have also been
stitched along with the bottom and side panels. |
 |
I have carried out the stitching procedure as
described in Devlin's book. You start with the bottom
panels, stitch them together along the bottom seam, open
them like a book, and stitch the side panels to the
bottom panels. The two transoms are also stitched in this
step. Checking your work with the previously cut
bulkheads assures that the angles at the seams are
correct. Also, make absolutely sure that dimensions along
the two diagonals of the boat (from each side of the
transom to the bow) are the same before starting glue
work. |
 |
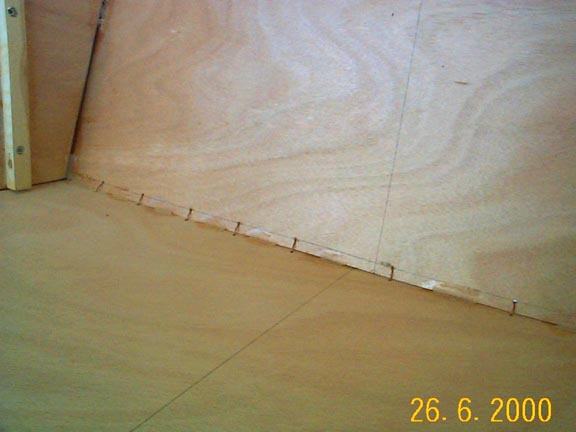
Close-up view of the stitches. I have used easily
available copper wire for the stitches. You don't need a
tight fit at the seams. Gaps up to 1 cm (OK, maybe even
more, but try not to exaggerate) are acceptable because
the epoxy putty will fill those gaps. Distance between
stitches is not very critical. I put a stitch at every 15
cm in low stress areas of the hull going down to about
every 5 cm in high stress areas like the bow and transom
ends of the panels. |
 |
Time has come to start the glue work. Before the
seams are glued, you have to do two things. The first is
to secure the geometry of the stitched hull. I cut dummy
bulkheads from 2 cm thick particleboard to use as
spreaders and temporarily screwed them in place (pictures
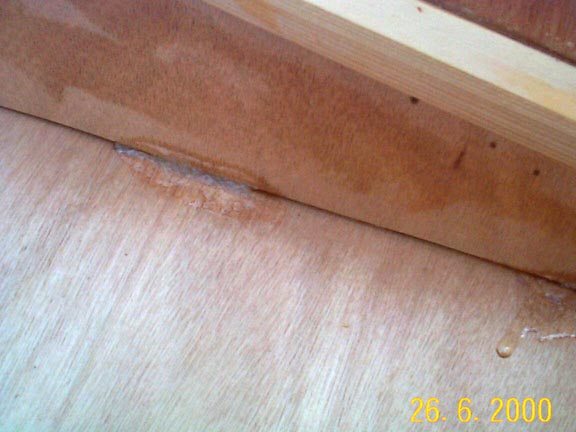
of this later). The second is to pull out the stitches.
For a small boat, you can place small epoxy fillets
between the stitches to hold the hull together and pull
the wires out once these cure. Here you see a close-up of
the fillets. |
 |
These fillets serve very much like the point welds to
hold the pieces together in a welding task. Here, you see
a close-up of the transom fillets after they have cured
and the stitches pulled out. We shall now cover the
entire seam (over the point fillets) with epoxy fillet.
Some people argue that the stitches may be left in place.
In general, it is best to pull them out if you are using
metal wire stitches. If you are using say, nylon cable
straps as stitches, I think they can be left there and
filleted over. |