 |
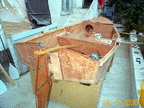
This picture shows the centerboard trunk in
preparation. After assembling the trunk, it will be
impossible to reach its inside, therefore all inside
faces of the centerboard trunk must be very carefully
sealed with epoxy. I first covered its inside faces with
fiberglass fabric and applied three layers of unthickened
epoxy over it. Since I planned to set sail from the beach
and the centerboard is quite likely to hit the sea bottom
(it did many times), I used two layers of tape both from
the inside and outside of the boat after glueing the
trunk in its place with epoxy fillet. |
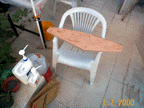 |
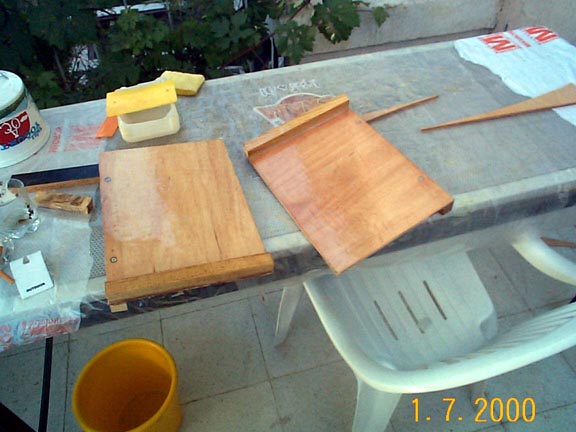
This picture shows the rudder. The design calls for
3/4" (19 mm) thick rudder and centerboard with
tapered ends. I laminated these from three layers of 6 mm
plywood and obtained the tapering by sanding heavily with
a 115 mm disc sander. The disc sander turned out to be an
indispensable tool for heavy sanding tasks not possible
with the palm sander. Epoxy and hardener containers with
their pumps attached are also visible in this picture. |
 |
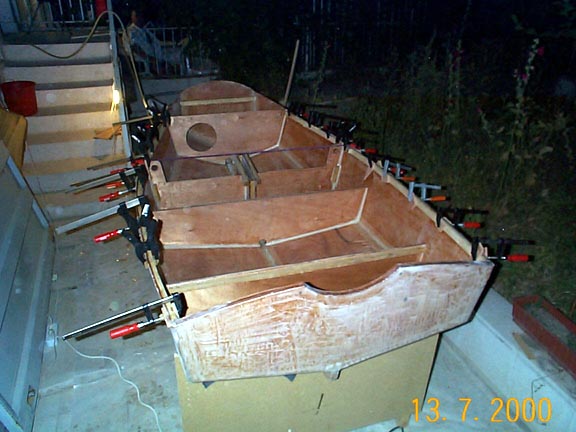
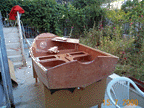
Bulkheads and centerboard trunk have been installed
(again note the white fillet material along the bulkhead
seams). Inner gunwales are being glued in place with
thickened epoxy. You need all the clamps that you can get
because bending wood in two dimensions is not very easy.
The original design calls for outer gunwales only but I
did install gunwales inside the boat as well. |
 |
Both inner and outer gunwales installed, seat-tops in
preparation. I couldn't find flotation foam in Ankara.
Since it is not good practice to completely seal a
compartment unless you fill it with foam, I made all
compartments accessible by cutting access holes through
the seat-tops. Under these circumstances water can (and
does) enter these compartments. I therefore cut small
limber holes on the bulkheads so that water will not be
trapped inside (one is clearly visible at the bottom of
the middle bulkhead in the previous picture). These
compartments house my sponge, half of a large plastic
bottle serving as a bailer, reserve rope, and perhaps a
few cans of beer. |
 |
I laminated the mast from two pieces of 3 cm by 6 cm
lumber to obtain a 6 cm by 6 cm mast. Here you see the
two pieces being glued together. Of course, the mast will
be tapered later. My rigging is a bit different than the
one given in the plans. See rig details
if you are interested. Also note the -uninstalled- bow
seat-top on the boat and the square hole through it. The
mast will pass through this hole. At this point, all
inner surfaces of the boat that will be unaccessible
later must be sealed with unthickened epoxy.. |
 |
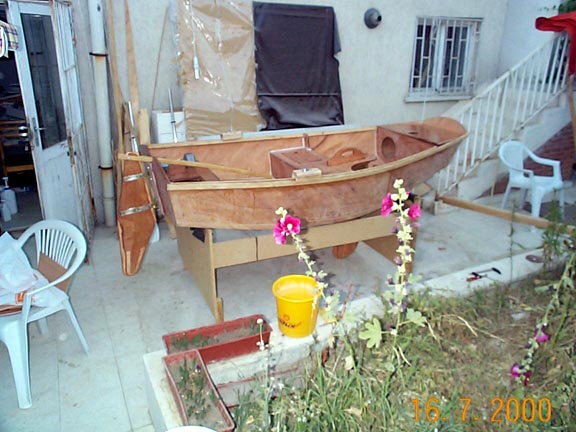
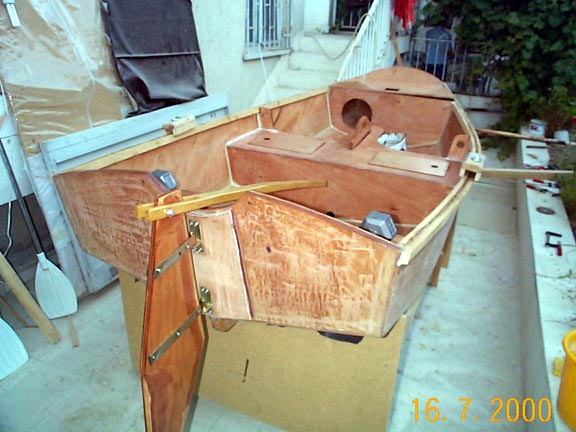
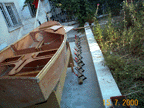
Everything except the bow seat-top and homemade
oarlocks installed. Note the tapering of the rudder. The
centerboard is also in place and extends almost down to
the ground from the bottom of the boat. The bow seat-top
is not installed yet because a mast base has to be built
first. The bottom of the boat is too weak to support the
weight of the mast. A few pieces of plywood buried in
thickened epoxy serve as the mast base. I also made a
mast box that extends from the bottom of the boat to the
bow seat-top. |
 |
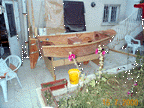
The mast box has inner dimensions a few mm larger
than the mast itself. Its purpose is to make sure that
the mast will not pop out of its base on the sea. In this
picture, the weights on the stern seat-top secure it in
place while the epoxy cures. Now is the time to seal all
accessible surfaces inside the boat with unthickened
epoxy. After the epoxy cures it must be sanded, and the
boat is ready for paint. There is no need to cover inner
surfaces with fiberglass fabric. |
 |
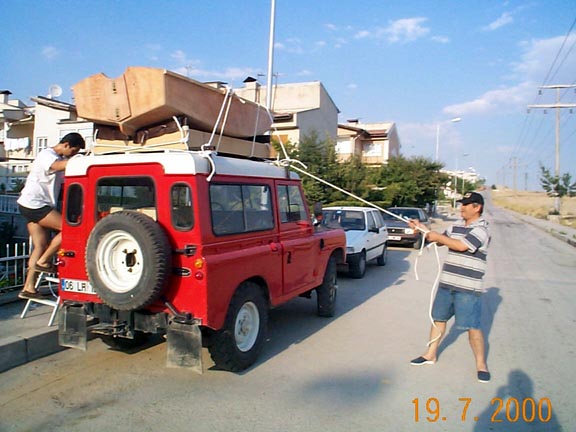
This picture and the following one have nothing to do
with boatbuilding. At this stage of the project I had
already spent many days of my vacation working on the
boat and it seemed that if I didn't set off soon, I could
spend the rest of the vacation as well (boatbuilders know
this feeling very well). Only the paint job was left and
I could carry this out at my holiday destination. With
the help of my neighbors, I packed the paint-ready boat
on the Land-Rover (thanks, guys) |
 |
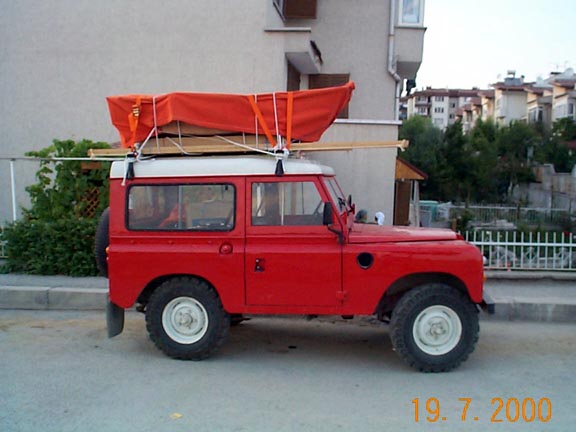
Boat securely tied and wrapped-up. The mast is also
visible. Time to depart. Don't forget to take some epoxy
in case you inadvertently sand into plywood. Also take
some filler, palm and disc sanders, various grades of
sandpaper, paint, varnish, brushes, the sail, ropes, ...
the list seemed endless but fortunately I didn't forget
anything. |